Getting started (iPhone and iPad)
Requirements and download for iPhone, iPad and iPhone Duo, the permissions iOS asks for, your first recording, where sessions are kept, and how the app differs from the Mac version.
Requirements
- iOS 27 / iPadOS 27 or later
- An iPhone or iPad that supports Apple Intelligence, including the foldable iPhone Duo. Summaries are written by Apple Intelligence, so turn it on under Apple Intelligence & Siri in the Settings app
- No account. Transcription and summaries both happen on the device; neither audio nor text leaves it
The iPhone and iPad app is made for models that support Apple Intelligence. On other devices no summaries appear and Pro can’t be bought (recording and transcription still run, but those devices aren’t supported).
Getting the app
Otonota is free on the App Store (iPhone). iPhone, iPad and iPhone Duo all run the same app.
On the App Store it’s the iPhone and iPad version of the same app as the Mac version, so if you bought Pro on the Mac, you already have Pro on iPhone and iPad with the same Apple Account. See Pro (iPhone and iPad).
What iOS will ask
| Permission | When | What it’s for |
|---|---|---|
| Microphone | First recording | Recording the meeting. Audio is never sent off the device |
| Speech Recognition | When you record with the “Standard” recognition engine | The device’s built-in speech recognition. Not asked for with the default “AI (Apple Intelligence)” |
To change them later, open Apps > Otonota in the Settings app, or Microphone and Speech Recognition under Privacy & Security.
Your first recording
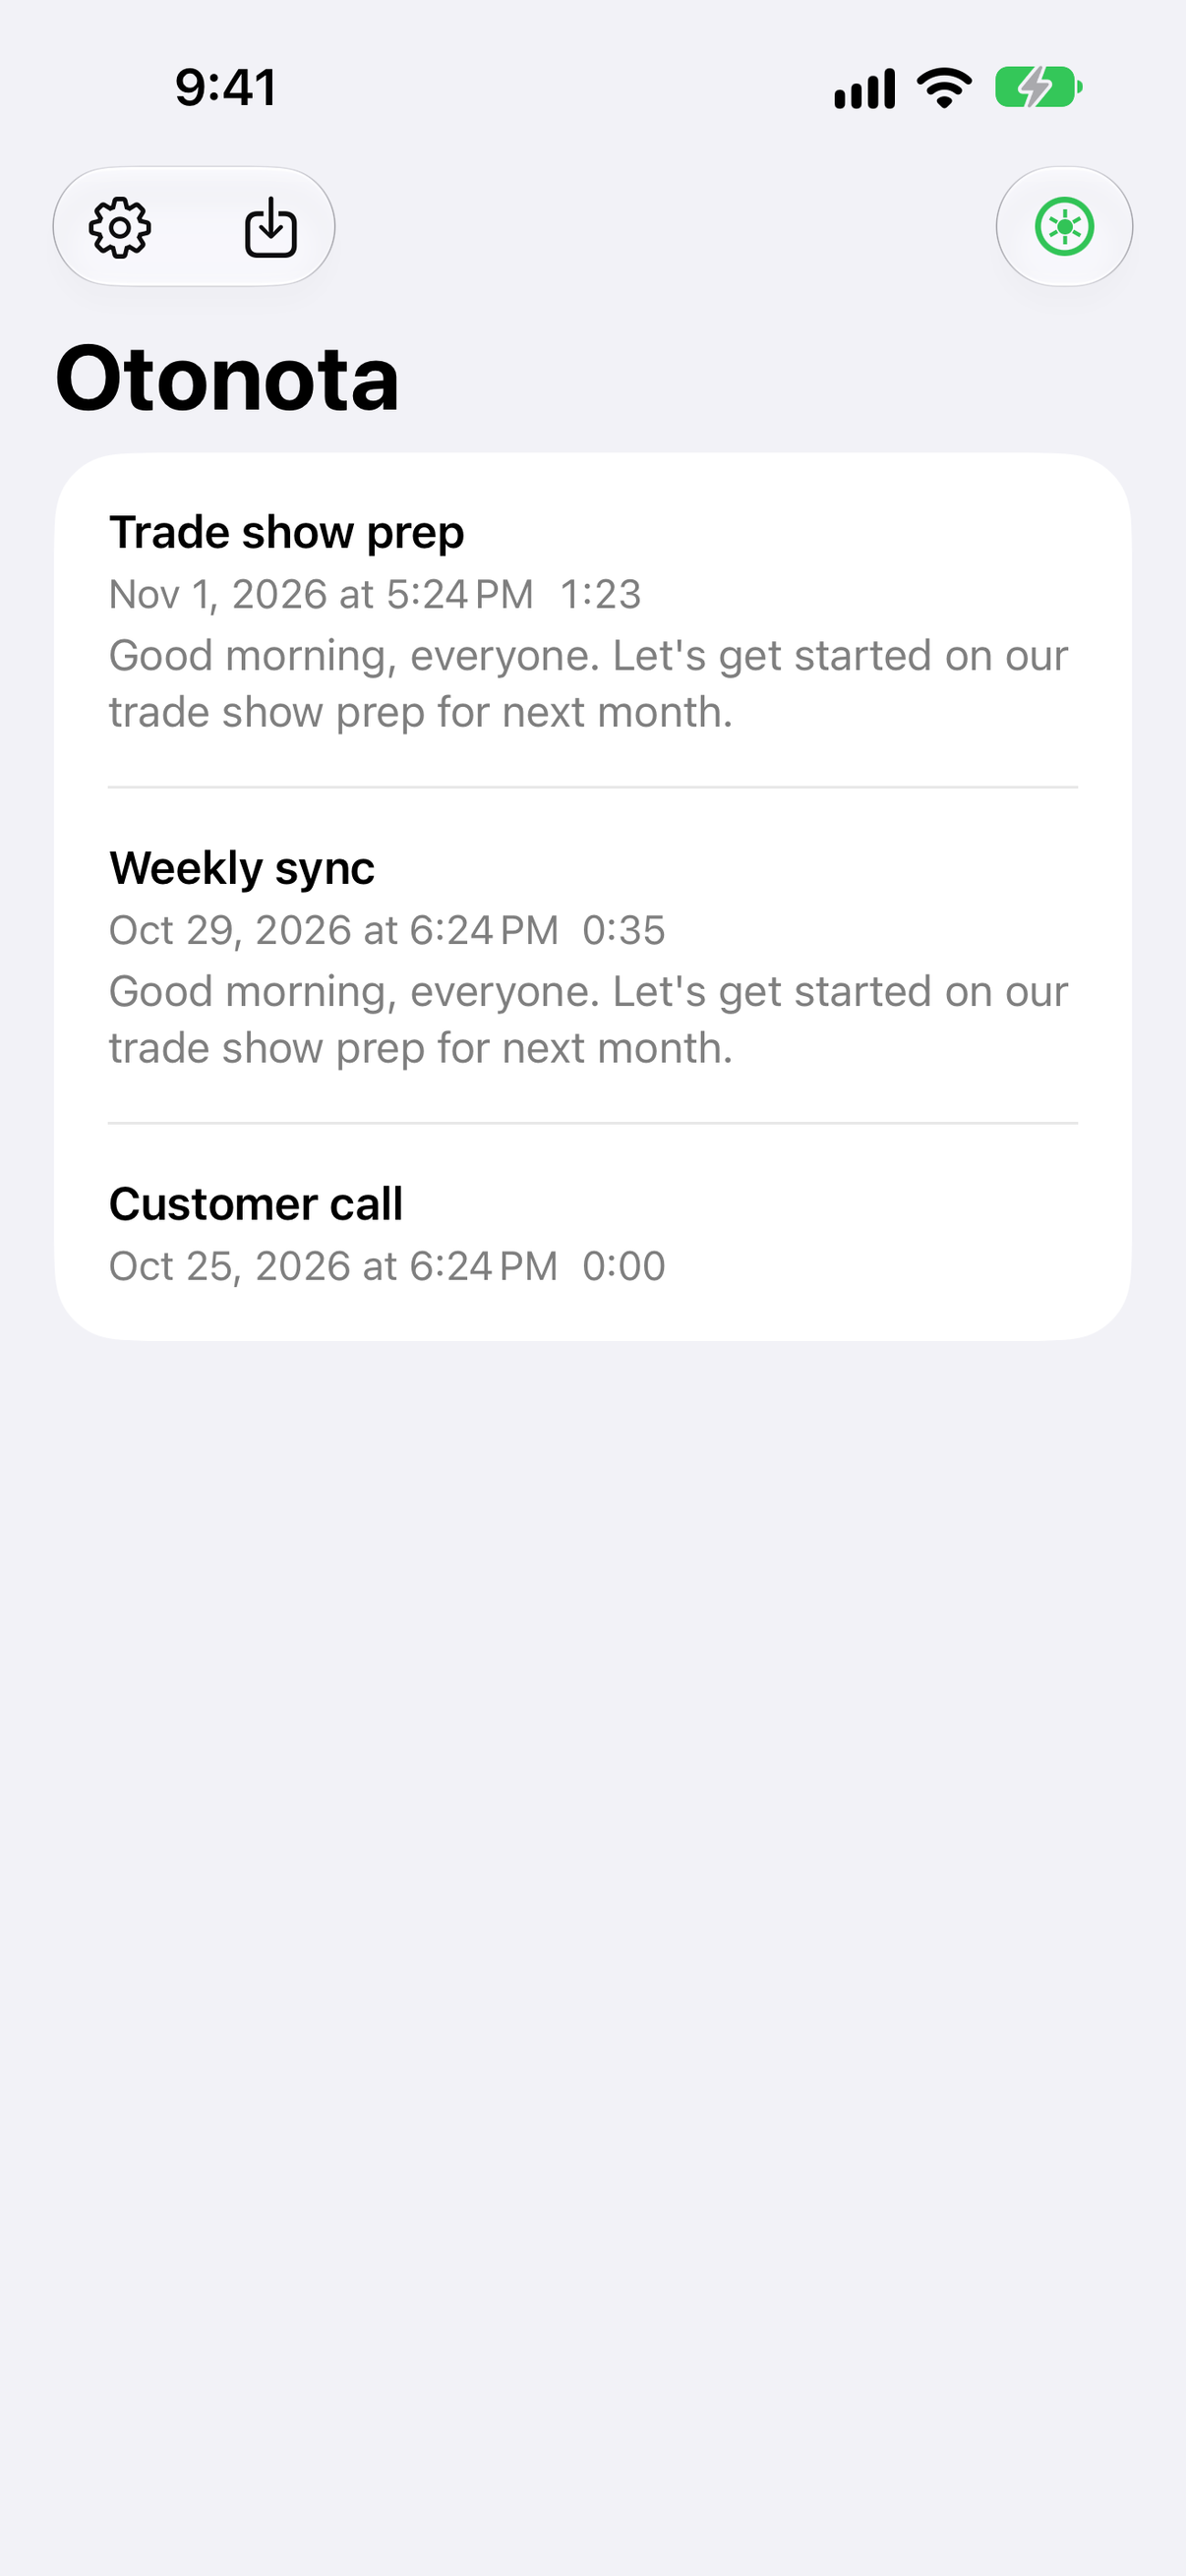
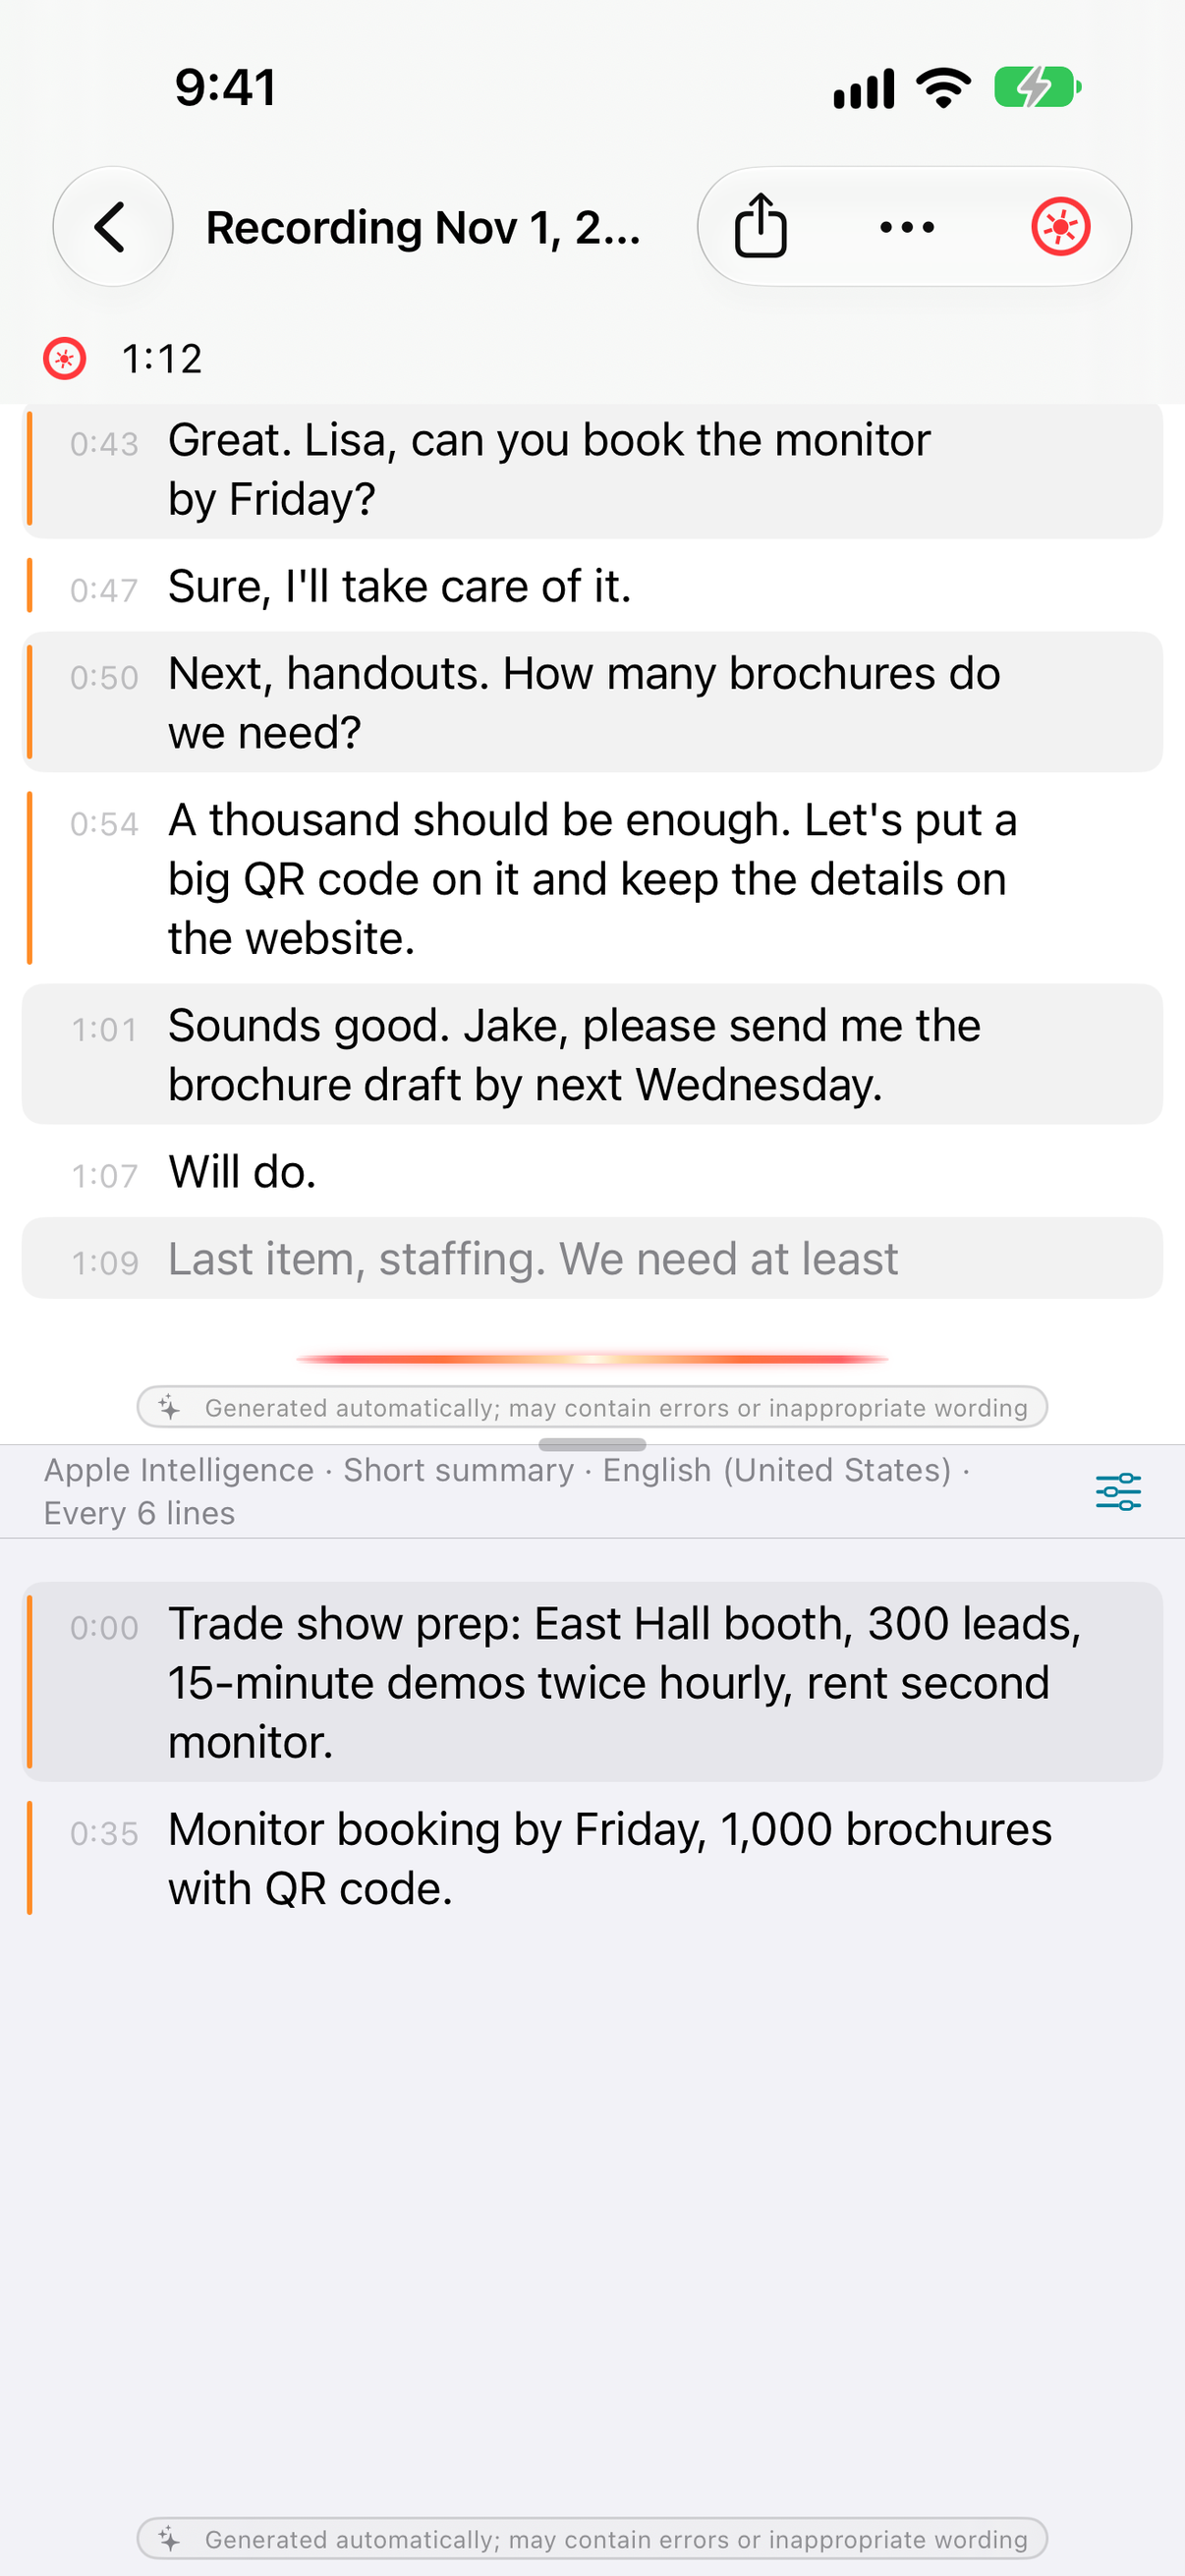
- Tap New Recording above the session list (the cassette reel, green when stopped). A sheet lets you check the recording settings (transcription engine and language, glossary, About this conversation, summary); tap Start to create a new session and begin recording. The first time, iOS asks for the microphone
- Speak, and the transcript fills in with timestamps. Lines still being recognized are shown faint and turn solid once final. After a few lines, points appear in the summary column
- To stop, tap the record button in the session (red and spinning while recording)
The first time you record in a language, the default “AI (Apple Intelligence)” engine downloads a speech model from iOS. Meanwhile the transcript column says “Preparing” and “The speech recognition model is downloaded the first time.”
Where sessions are kept
- One meeting is one session, listed newest first. Sessions are named after the date and time, like “Recording Nov 1, 2026 at 6:27 PM”, and can be renamed
- During a recording, the transcript and summaries are saved every 15 seconds
- Sessions and recorded audio are stored inside the app on the device, and are included in device backups such as iCloud Backup
- They don’t sync with your Mac or other iPhones and iPads
- Deleting a session can’t be undone (there is no trash)
How it differs from the Mac version
| Mac | iPhone and iPad | |
|---|---|---|
| What it records | Microphone and system audio (such as the other side of a video call) | Microphone only. It can’t record other apps |
| Summary columns | Two (Stream 2 is Pro), and they can pop out into windows | One. No separate windows |
| Engines | Built-in, local models, and cloud (Pro) | Built-in, plus external models that run on the device (Pro). No cloud |
| Glossary | Per session, with a context hint about the conversation | One for the whole app; save glossaries under a name and load one per meeting. Notes about the conversation go in About this conversation, per session |
| Export | Audio and text; Pro adds SRT / JSON / CSV | Markdown text (share or save as a file) |
| Organizing | Folders and a trash | A single list. Deleting can’t be undone |
The rest of this guide
- Recording and the screen — recording, stopping and continuing, the layout on each device, locking the screen, the session list and export
- Summaries and the glossary — summary settings, Summarize the Rest, writing the glossary
- Choosing engines and models — transcription and summary engines, downloading external models
- Pro (iPhone and iPad) — the meeting wrap-up, importing, speaker separation, buying and restoring
- Settings — every item in Settings
- Troubleshooting — no summaries, turning permissions back on, and more